
1. Prep Before You Wash

2. Saturate Completely

3. Apply & Spread Shampoo
4. Rinse Thoroughly
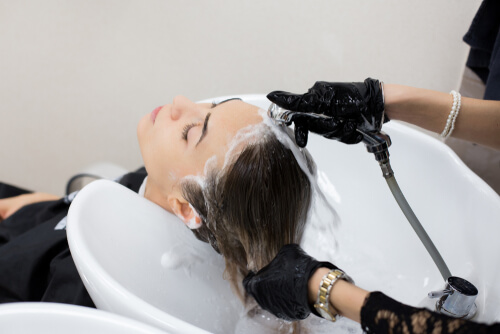
5. Repeat if Needed

6. Condition the Ends
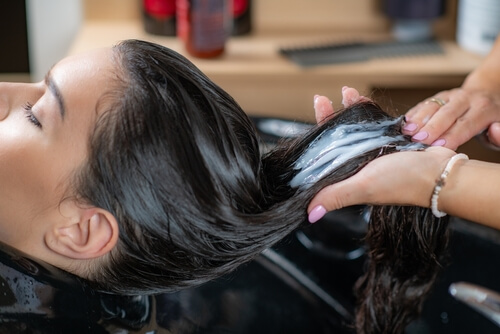
7. Finish with a Gentle Rinse

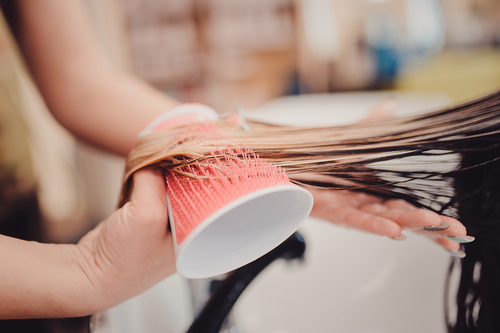
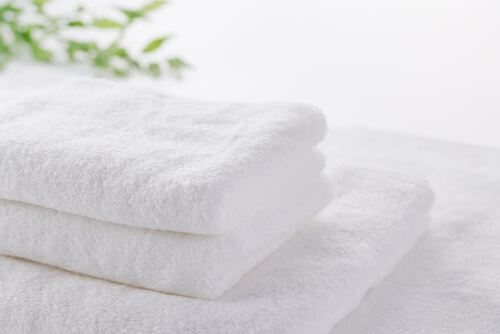
1. 1. Choose a soft, absorbent towel.
2. Gently press the hair without rubbing.

3. Start from the roots, then move downward to the lengths and ends.

4. 4. Avoid twisting or wrapping the hair tightly.
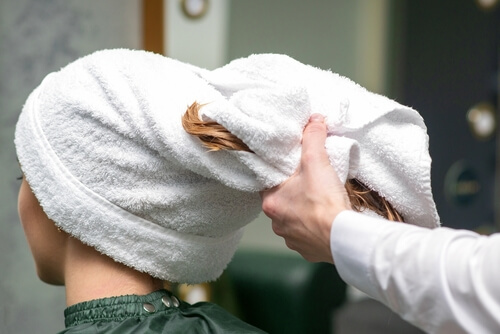
5. Use an extra towel if needed for thick or long hair.

6. 6. Let the hair air-dry partially before using any heat tools.
1. Clean the tools first:
2. Disinfect using approved sanitizing products:
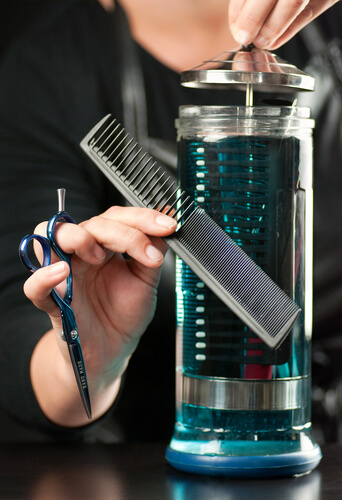
3. Dry the tools completely after disinfecting:
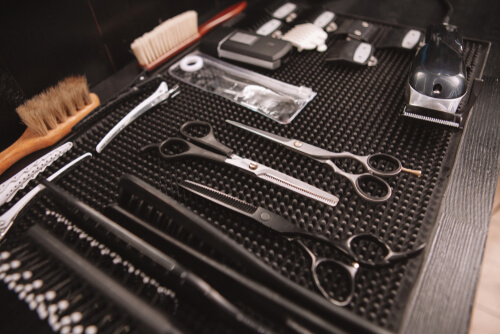
4. Store tools in a clean, sealed container or designated area:

5. Wipe down and sanitize the entire work area:
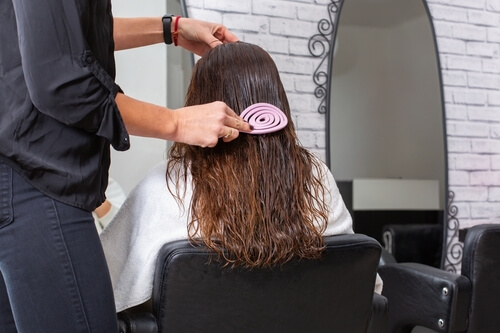
1. Proper properly:
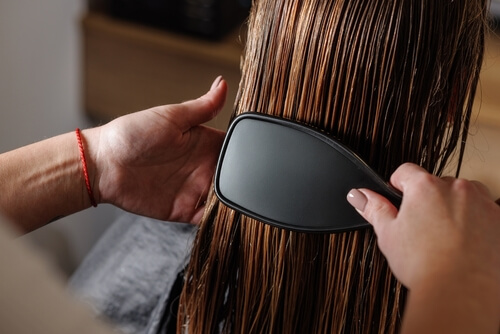
2. Create clean sections:
3. Choose the right brush:

4. Master the blow-dry technique:

5. Apply the final touch: